Ir a la versión en español.
DESCRIPTION
MegaFlashROM is a MSX cartridge developed by Manuel Pazos which has a flash memory inside, where we can save an original ROM dump in a non-volatile way.
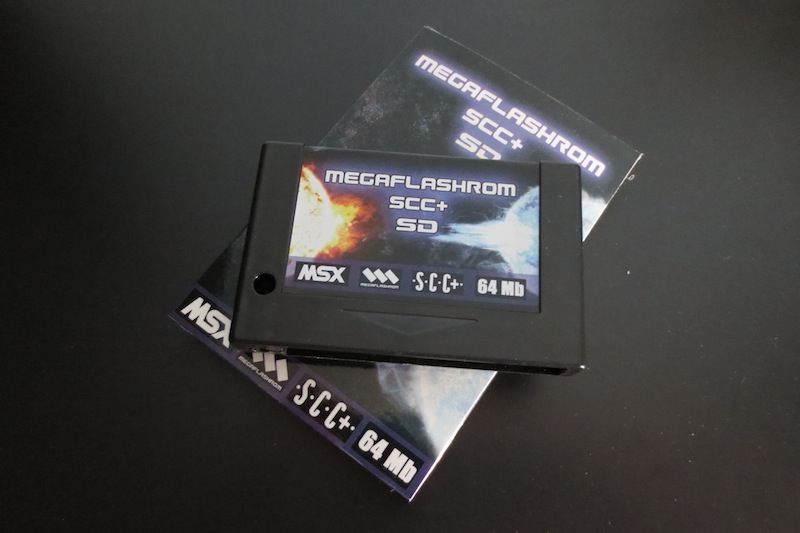
MegaFlashROM SSC+ SD has been released on March 2013. The main improvement of this brand new version is that it provides a MicroSD slot, from where we can upload software directly to the flash memory. Let's have a quick glance over it's main features:
- 8 MB Flash ROM.
- 7 MB MegaFlashROM where we can write:
- Up to 9 disk images (DSK).
- Multi ROMs up to 511 ROMs.
- SCC+ chip (an improved version of SCC chip).
- One MicroSD slot (there is another version with two slots and higher price).
- Recovery mode, useful to erase MegaFlashROM or restore kernel in case we have broken something.
- And any other feature already found in MegaFlashROM SSC+ previous cartdridge.
The cartdridge is MSX (64 MB RAM) and MSX2 (128 KB RAM) compatible, and has a price of 99€ (March 2013).
We will see all the features that it offers to a basic MSX user, not very experienced, and with the aim of enjoying with the huge catalog of games. In case that we have a MSX2 computer, it has obviously more capabilities and the cartridge offers more possibilities, but we are not covering this case, mainly because the lack of a testing unit.
All these tests have been done on a Sony HitBit 75P MSX computer.
MSX-DOS operating system does not support subdirectories, so every file will be at the root of the SD partition we are working with.
Of course, software, in ROM or DSK format, must be MSX1 compatible. Otherwise, it will not work. MegaFlashROM is a great piece of hardware, but it does not make miracles. We should also be careful with untrusty disk to ROM or tape to ROM dumps, because the may not work for any reason.
THE CARTRIDGE
MegaFlashROM cartridge may be considered as the sum of three devices:
- MegaFlashROM SCC+ it self that is the flash ROM where memory dumps, disk images, etc., are flashed. It contains also SCC+ chip.
- SD reader, where Nextor operating system is stored.
- Recovery tool, which can be used to to reinstall cartridge kernel or delete any of their parts.
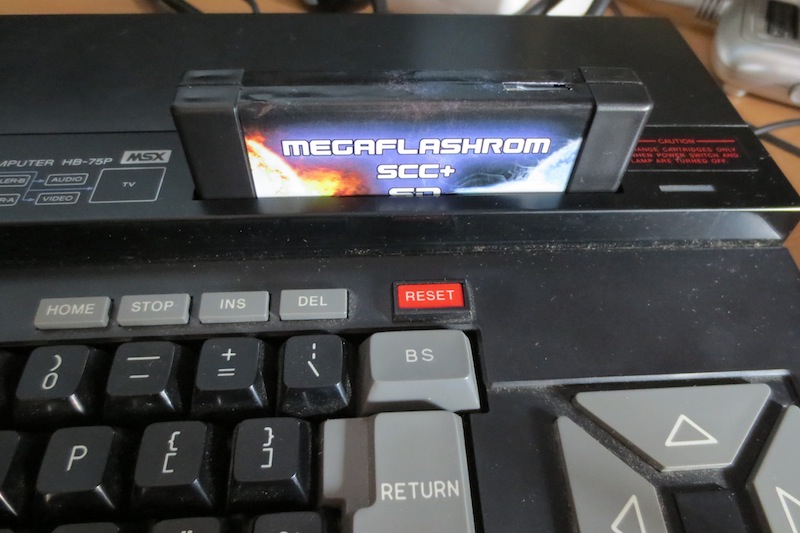
BOOTING FROM CARTRIDGE
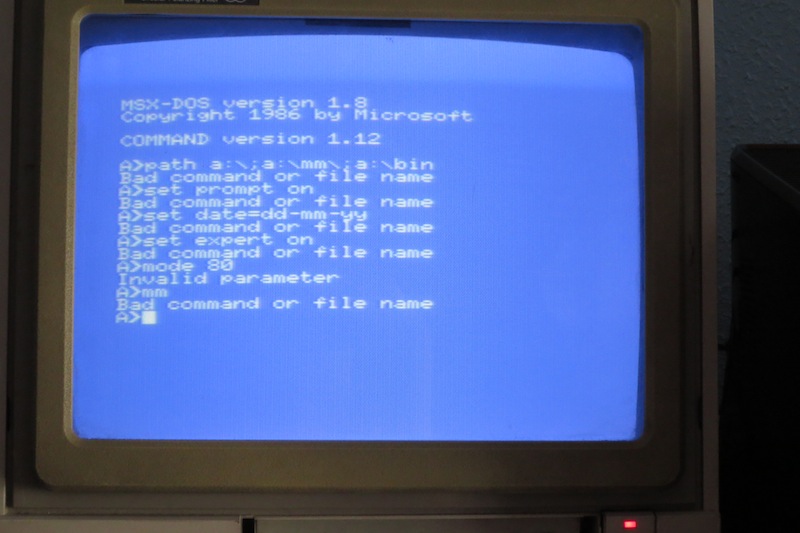
Booting the MSX from the MegaFlashROM, as is configured by Manuel, we will find Nextor operating system instead of our beloved BASIC. Well, if our computer is a 64 KB MSX1, it will be MSX-DOS, not Nextor. It will bring us back to old MS-DOS days, because MSX-DOS is very similar (but more limited).
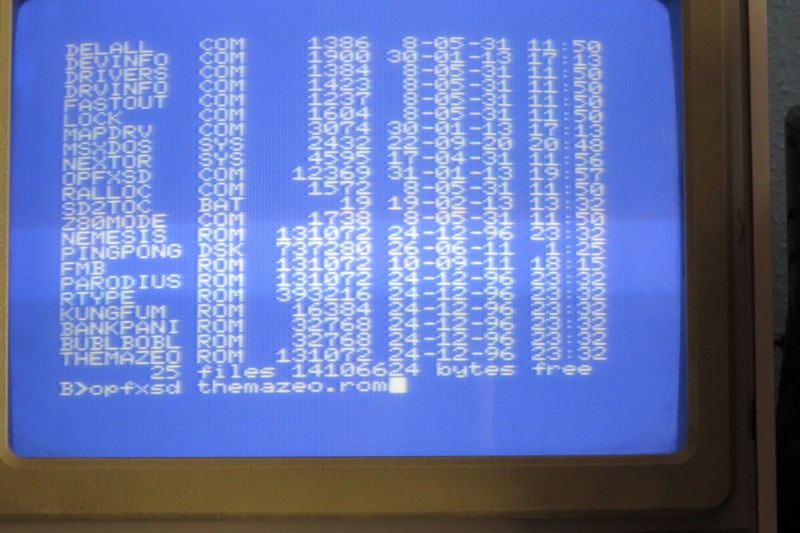
Inside MegaFlashROM there is a read only flash drive mapped to A:; this drive has the operating system inside with OPFXSD.COM, the real core utility of the cartridge. If we run DIR command, we will see the directory listing.
Nextor, as MS-DOS did, handles 8+3 filenames (8 characters name plus 3 characters extension), with no capitalization.
If run on a MSX1, we will see some errors during the booting procedure. It is because Manuel prepares the cartridge to run MSX2 utilities automatically. We can ignore them with no harm.
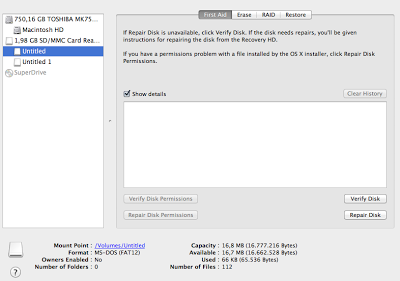
PREPARING MICROSD CARD
First of all we have to prepare the MicroSD card that we will use to load software into the cartridge. Talking about MSX1, we need a FAT12 partition. To avoid problems, the best way is to partition it from the MSX itself. Let's see the way to do it:
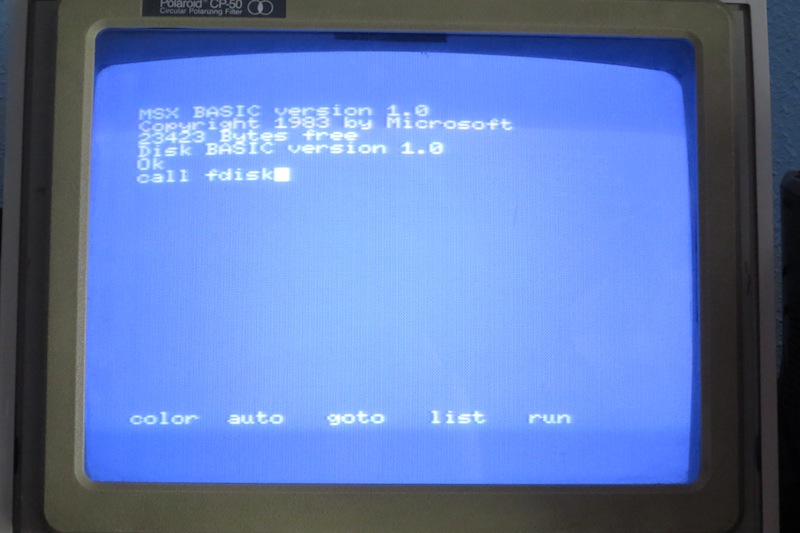
We get into BASIC with this command:
BASIC
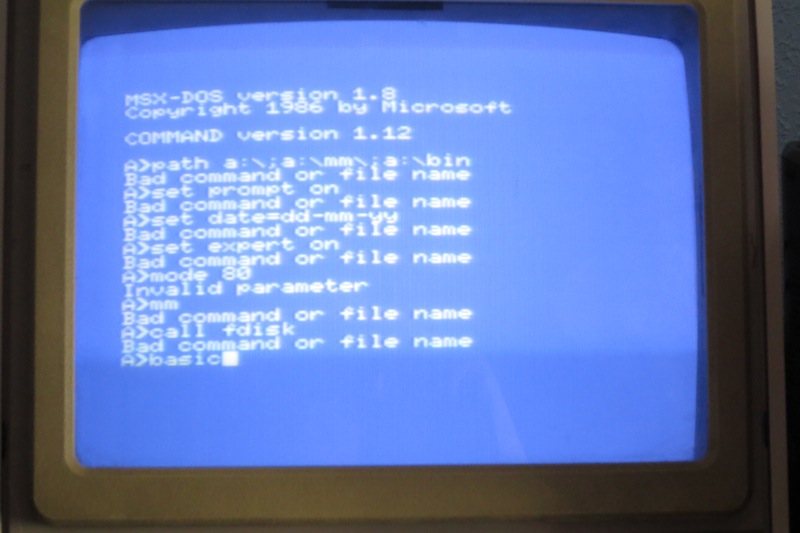
We start partitioning tool with this command:
CALL FDISK
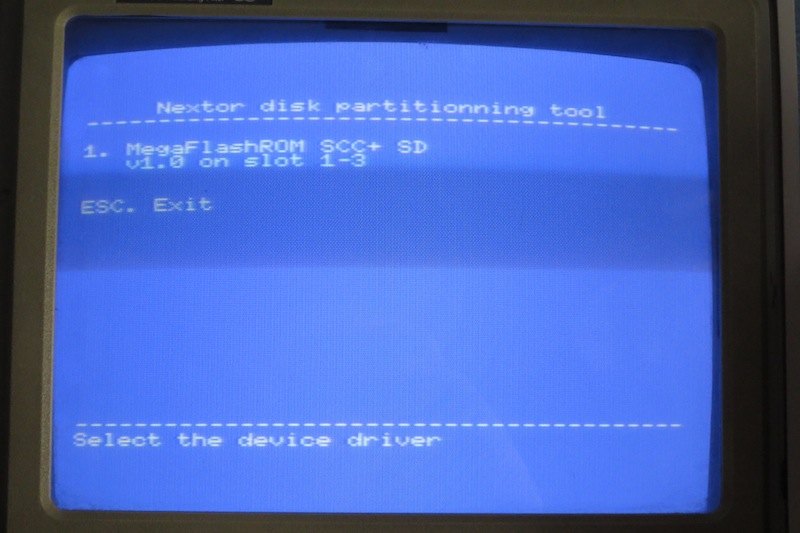
Once into partitioning tool, we select our device, MegaFlashROM (1):
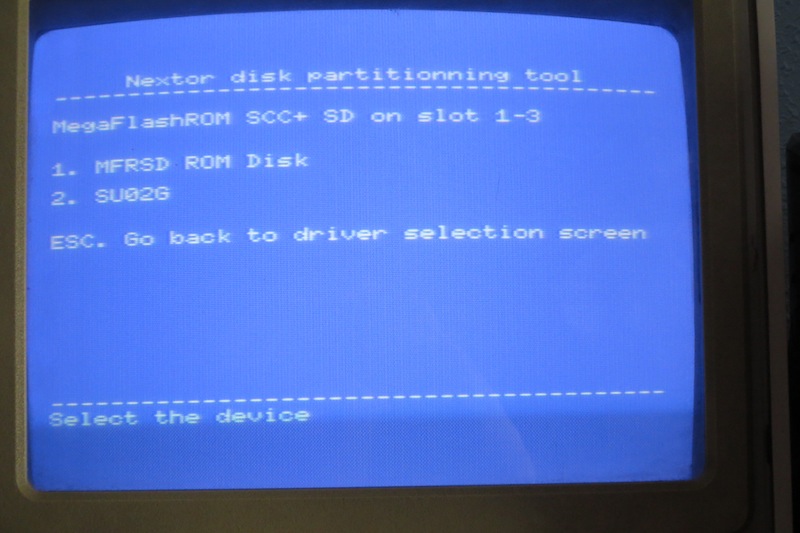
Our MicroSD card (2). Drive (1) is read only flash disk:
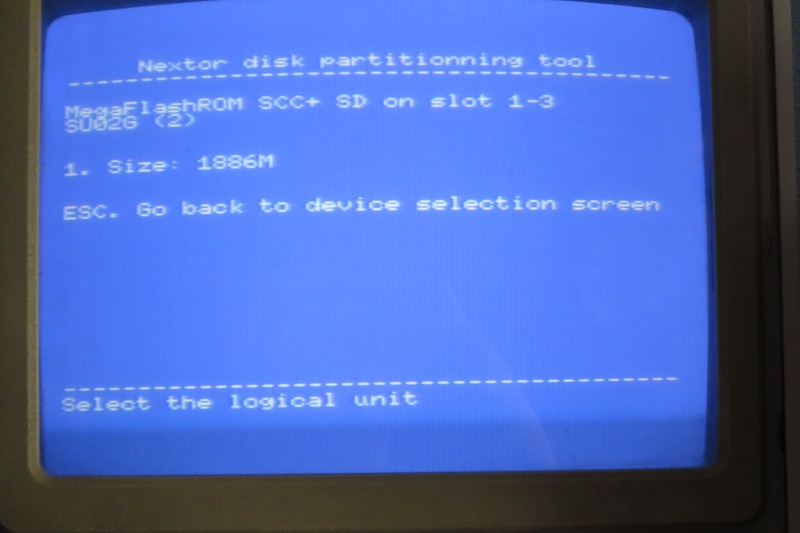
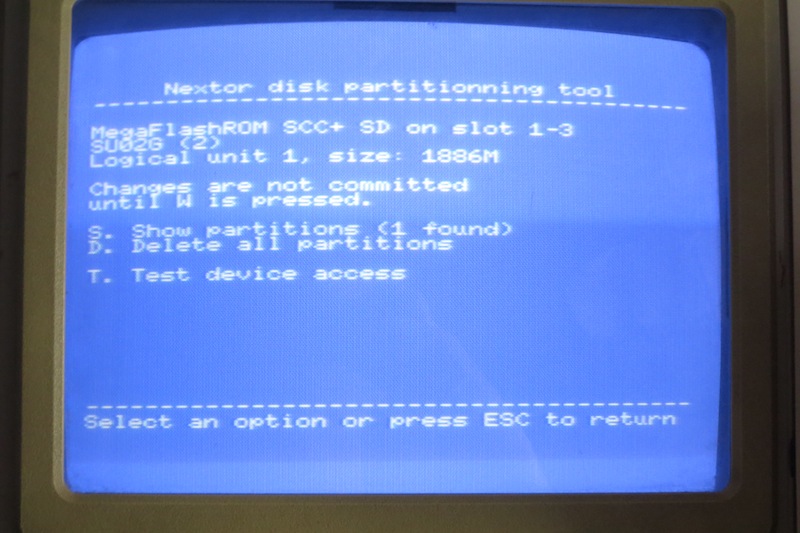
At last, we select logical unit (1):
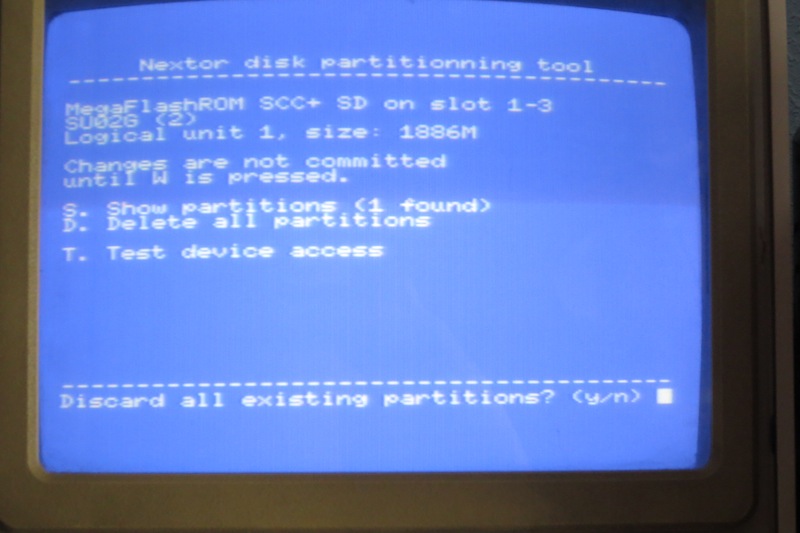
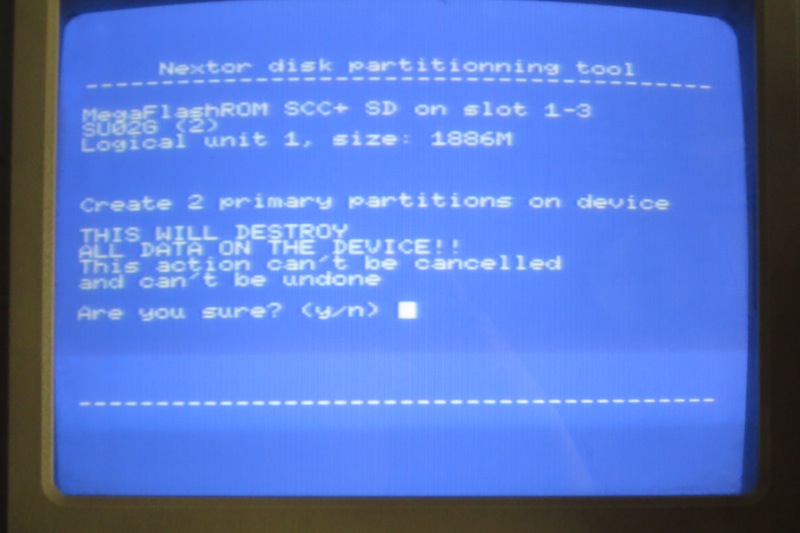
Partitions can be added one by one, but if we want to delete one, we must delete anyone. We are going to do so (delete all partitions) and create a couple of 16 MB. To delete partitions, we use option (D):
Confirmation is required in order to proceed:
Once deleted, we now create new partitions with option (A):
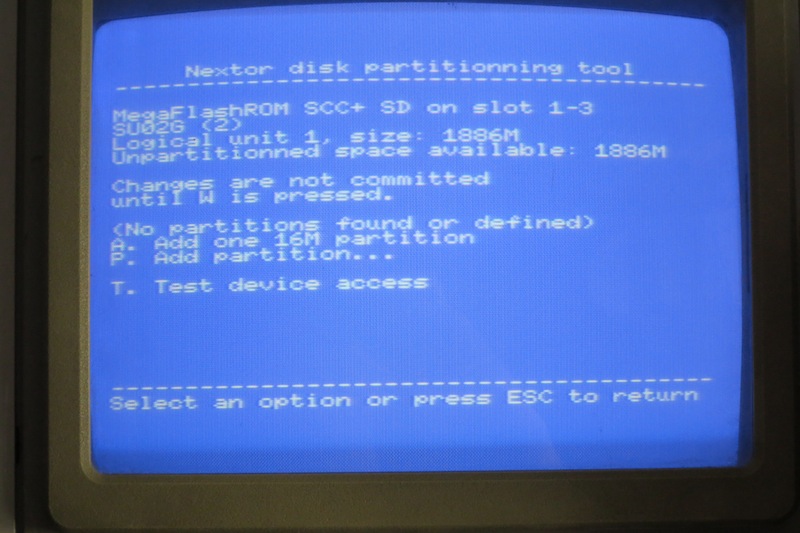
One more. We could add partitions of any size we wanted, but 16 MB ones work well with MSX1.
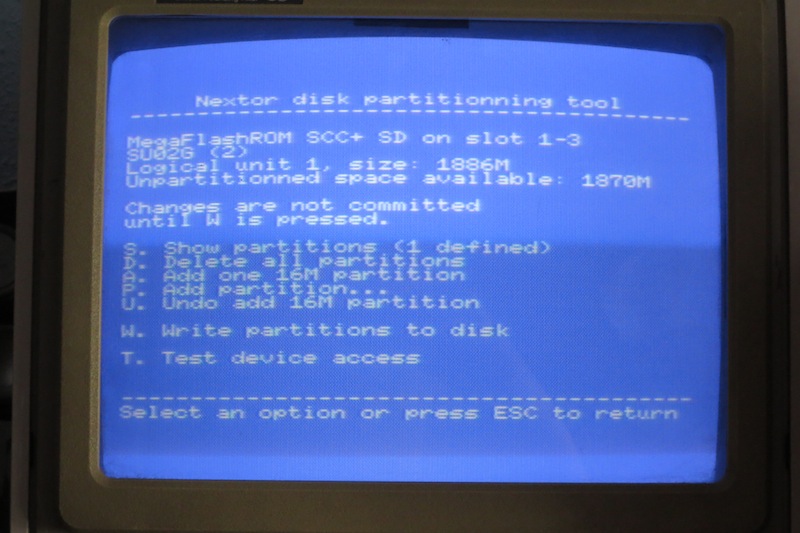
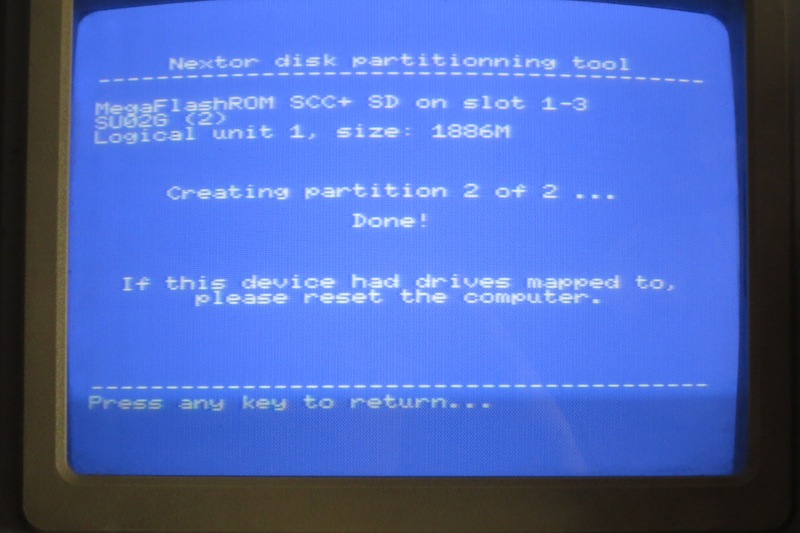
We will choose option (W) in order to save partition table in the MicroSD card:
We are done. System recommends to reset before continuing:
Once we have our card ready, we can put it into our PC and save ROM and DSK files that we are going to flash into the cartridge in a while.
As a precaution, it is recommended to copy A: drive files into MicroSD and store them safely, just in case we need them to restore the cartridge to its initial state.
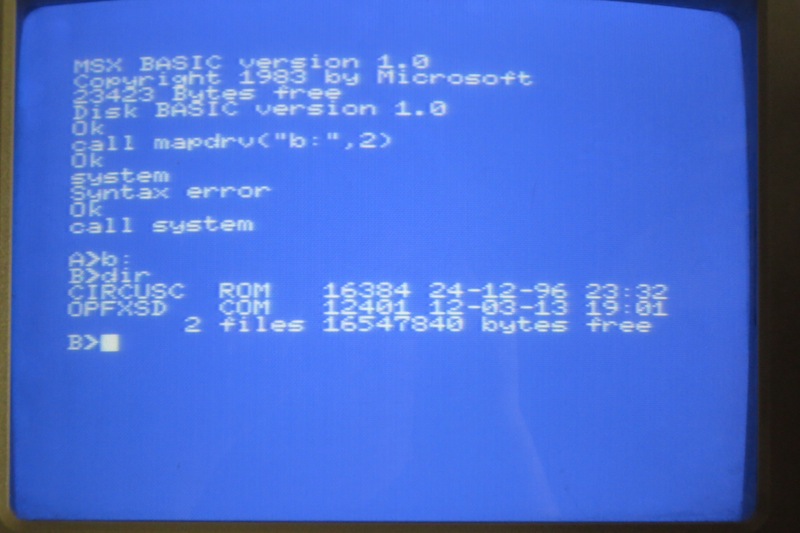
We have only A: (read only flash disk) and B: (first partition on MicroSD card) available on our MSX1. If we want access to the rest of partitions, we have to map them. Let's see how can we do it:
- From MSX-DOS, get into BASIC interpreter.
BASIC
- From BASIC, let's call mapdrv utility. For example, in order to access to the second partition on the MicroSD card, we should use the following command:
CALL MAPDRV("B:",2)
- Get back to MSX-DOS.
CALL SYSTEM
- If we list files, we will see that we are now accessing to the second partition.
FLASHING A ROM FILE
The main program that allows to do "magic" with the MegaFlashROM is OPFXSD.COM. We can download the owner's manual and check the entire list of available parameters. We will only have a look to the more common.
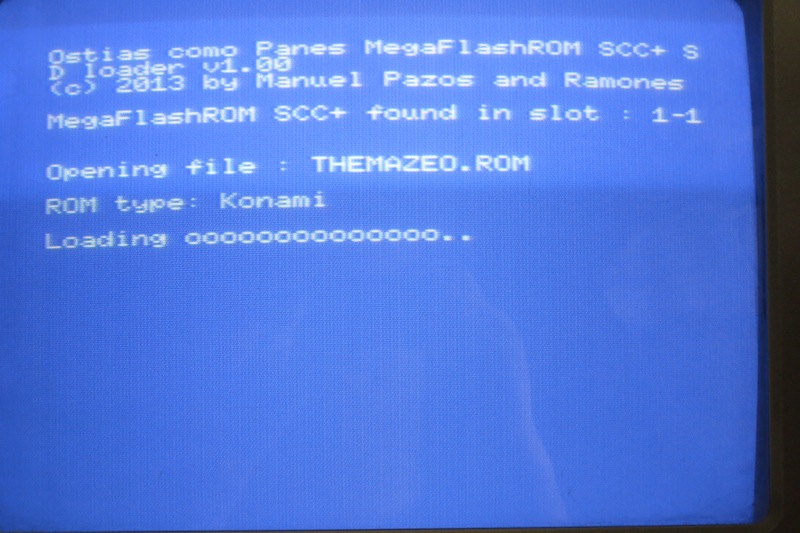
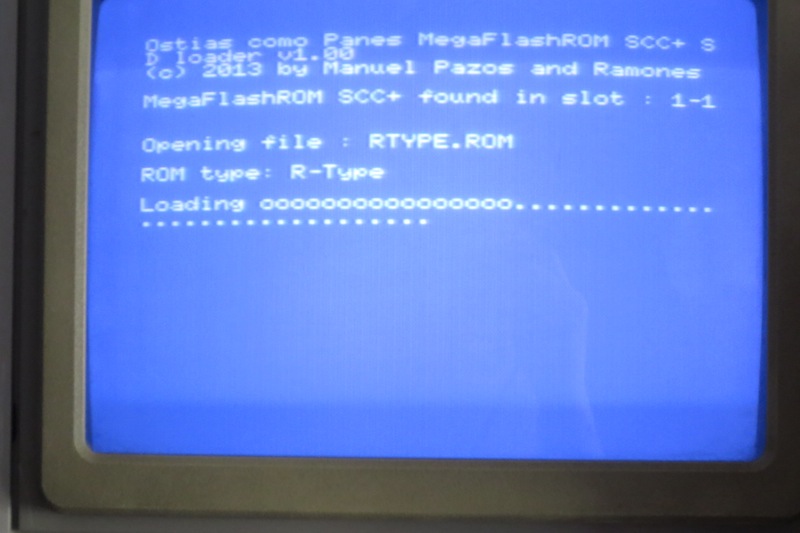
In order to store a ROM into the cartridge, we have to run the following command:
OPFXSD FILE.ROM
OPFXSD will read the file from SD and will put it into the flash ROM of the cartridge:
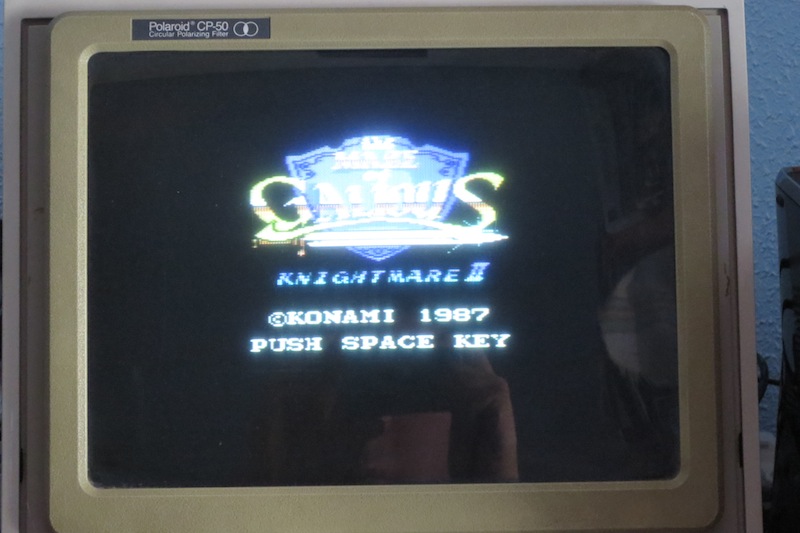
Once dumped, we have only to reboot the MSX computer and let it run the cartridge's memory content.
If we want to bypass it we have two choices:
- Boot MSX with Esc key pressed. This will bypass the content of flash ROM and jump into the system.
- Get into recovery tool and erase flash ROM. We will see further how to do this.
We can flash and run the ROM with just one command, adding /X parameter, like this:
OPFXSD FILE.ROM /X

This saves us from rebooting MSX, as the tool does it automatically for us after dumping the ROM file.
If dumping process freezes (it can happen ocassionally) it may be due to any problem with MicroSD card or cartridge slot. In that case, we can try to dump files at 1x speed (the usual speed is 4x for this model of MegaFlashROM). It can be done using /1 parameter:
OPFXSD FILES.ROM /1
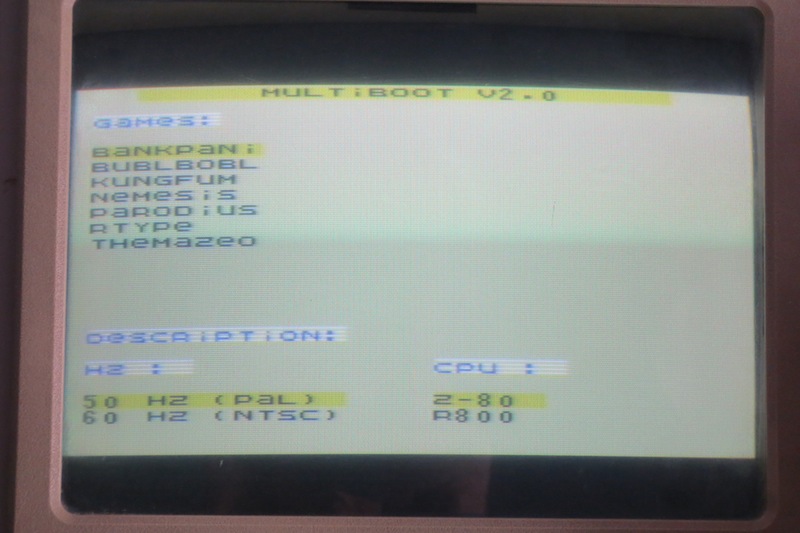
FLASHING A MULTIROM FILE
Flashing ROM dumps can be a boring process while we are trying new games. MegaFlashROM luckily allows to create up to 511 ROM files compilations. A selection menu is created automatically and shown at boot time.
Let's see how can we do it:
- From our usual PC, we create a file named MULTIROM.OPF on the SD card. In this file, we will put the ROM list that we want to add to the boot menu, one file per line, ending with the string [END] (brackets included). Then we have to put all the ROM dumps in the same path. For example:
BANKPANI.ROM
MHUNTER.ROM
NEMESIS.ROM
[END]
- OPFXSD allows to choose the ROM's mapper type, just in case that automatic detection fails for any reason. Syntax is the same used when the single ROM command, as can be seen in the owner's manual. In this next example we are using Konami SSC mapper:
BANKPANI.ROM
MHUNTER.ROM /K5
NEMESIS.ROM
[END]
- Let's move to the MSX and launch the command OPFXSD /O. This command will analyse MULTIROM.OPF file and dump into the cartridge's flash memory every ROM in the list. If there is any error (missing files or so) we can check it on screen.
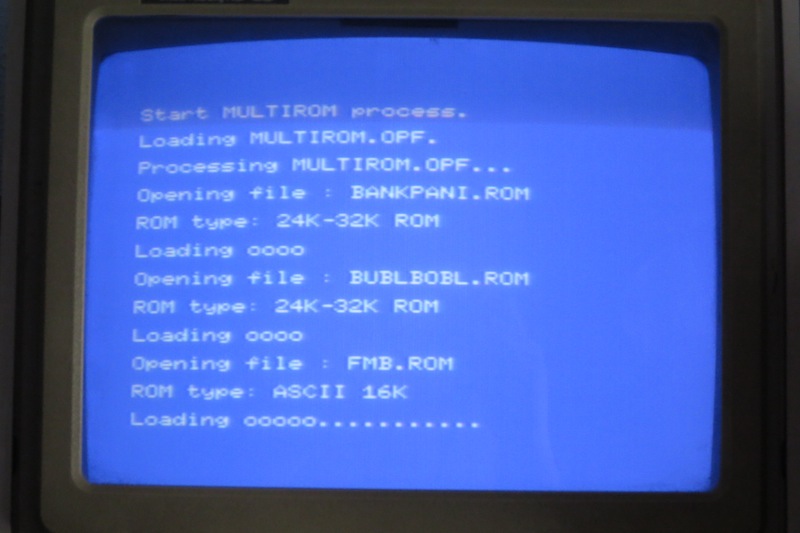
- If everything is OK, we can reboot the computer and enjoy our just created game compilation.
- Last version of OPFXSD allows to set the name of the .OPF file that defines the list of archives. So we can store different compilations into the same MicroSD card, ready to be flashed into the MegaFlashROM.
FLASHING A DISK IMAGE
Flashing a disk image is fairly the same thing than flashing a ROM dump. The command we have to use is very similar:
OPFXSD IMAGE.DSK /D1
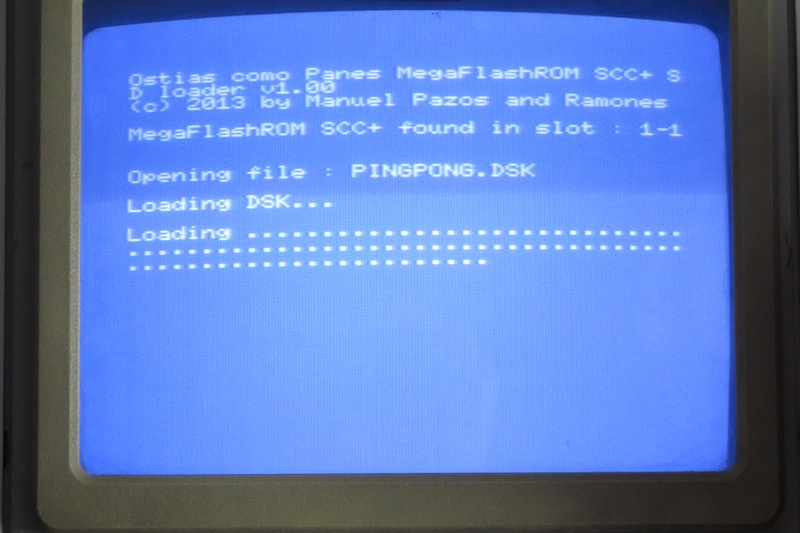
System deals with all the stuff necessary to autoload the disk image and run it at boot time. We can store up to 9 images at the same time (from D1 to D2). MSX always boots from D1 by default, but we can choose another image by pressing its number (from 1 to 9) on keyboard while booting. This feature also allows to run multidisk software.
RECOVERY MODE
In order to access recovery mode, we have to boot MSX with Up key pressed.
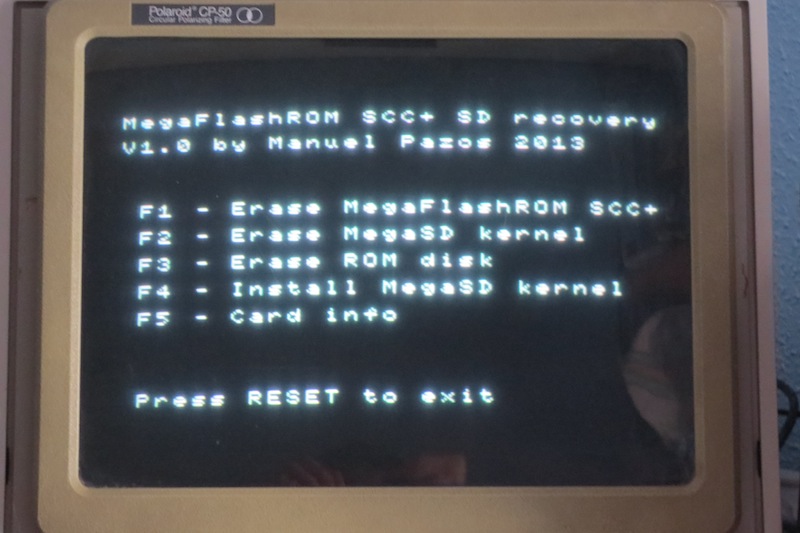
We have the following options:
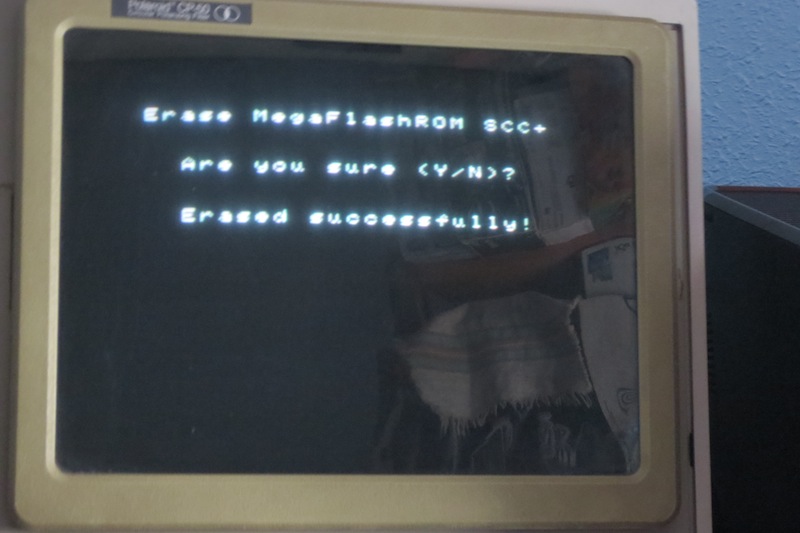
- F1. Erase flash ROM.
- F2. Erase SD management kernel.
- F3. Erase ROM disk.
- F4. Install cartridge kernel.
- F5. Show information about SD card (or cards).
We will normally use only the first one.
The other ones are useful in order to restore the initial state of the cartridge in case we have made any mistakes operating it. Let's see how:
In order to restore the kernel, we have to put KERNEL.DAT file into the MicroSD card. Then boot in recovery mode and using F4 option. The manufacturer suggests that this file is the only present in the primary partition of the card. It is important to know that recovery software performs a low level access to the MicroSD card, so it can be formatted in FAT 16 or, even, FAT 32 (not confirmed).
In case we have erased the files in A: virtual read only drive (I did it, do not ask me how), we can boot MSX-DOS if we restore the copy of the files that we suggested to do at the beginning.
Once we have started MSX-DOS, we must run the following command in order to follow with the recovery procedure:
OPFXSD DSKROM.ROM /I1
in order to save disk image management kernel. After that, we run the following command:
OPFXSD ROMDISK.DSK /ID
in order to restore flash read only drive (mapped as A:).
RECOVERY FILES
- DSKROM.ROM
- KERNEL.DAT
- OPFXSD.COM
- RECOVERY.ROM (please do not use unless it has been asked by the manufacturer)
- ROMDISK.DSK
RELATED LINKS (IN SPANISH)
- http://soft.mundivia.es/mpazos/flashrom/
- http://www.msxcartridgeshop.com/
- http://www.konamito.com/megaflashrom-scc-sd-ya-a-la-venta/
- http://www.konamito.com/manuel-pazos-anuncia-megaflashrom-scc-sd/
- http://www.konamiman.com/msx/msx-s.html#nextor
- http://zonadepruebas.com/viewtopic.php?f=28&t=2964
- http://www.msx.org/es/forum/debates-en-espanol/hardware/megaflashrom-scc-sd
COMPATIBILITY
MegaFlashROM has been tested with multilple MSX computers so far, always with proper results. But with MSX Sony Hit Bit 20P (of Santiago Romero), it did not work. It might be due to the computer scanning for extended slots faster than cartridge's FPGA enables their own ones. In this case, it is necessary to do a soft reset. The command is:
DEFUSR=0:?USR(0)
ACKNOWLEDGEMENTS
To Manuel Pazos, which not only has created such wonderful device, but also has helped me start using the cartridge and has answered quickly and kindly all my questions.